Week 02
Computer Aided design
Task for this week:
- Understand the difference between Raster and Vector
- Try 2 Raster tools (Photoshop/Photopea/GIMP)
- Try 2 Vector tools (Inkscape/FreeCAD)
- Try 3D CAD tools (Fusion 360, TinkerCAD, Rhino, Onshape)
- Assignment Model (raster, vector, 2D, 3D, render, animate, simulate) a possible final project
- Compress your images, videos and post a description
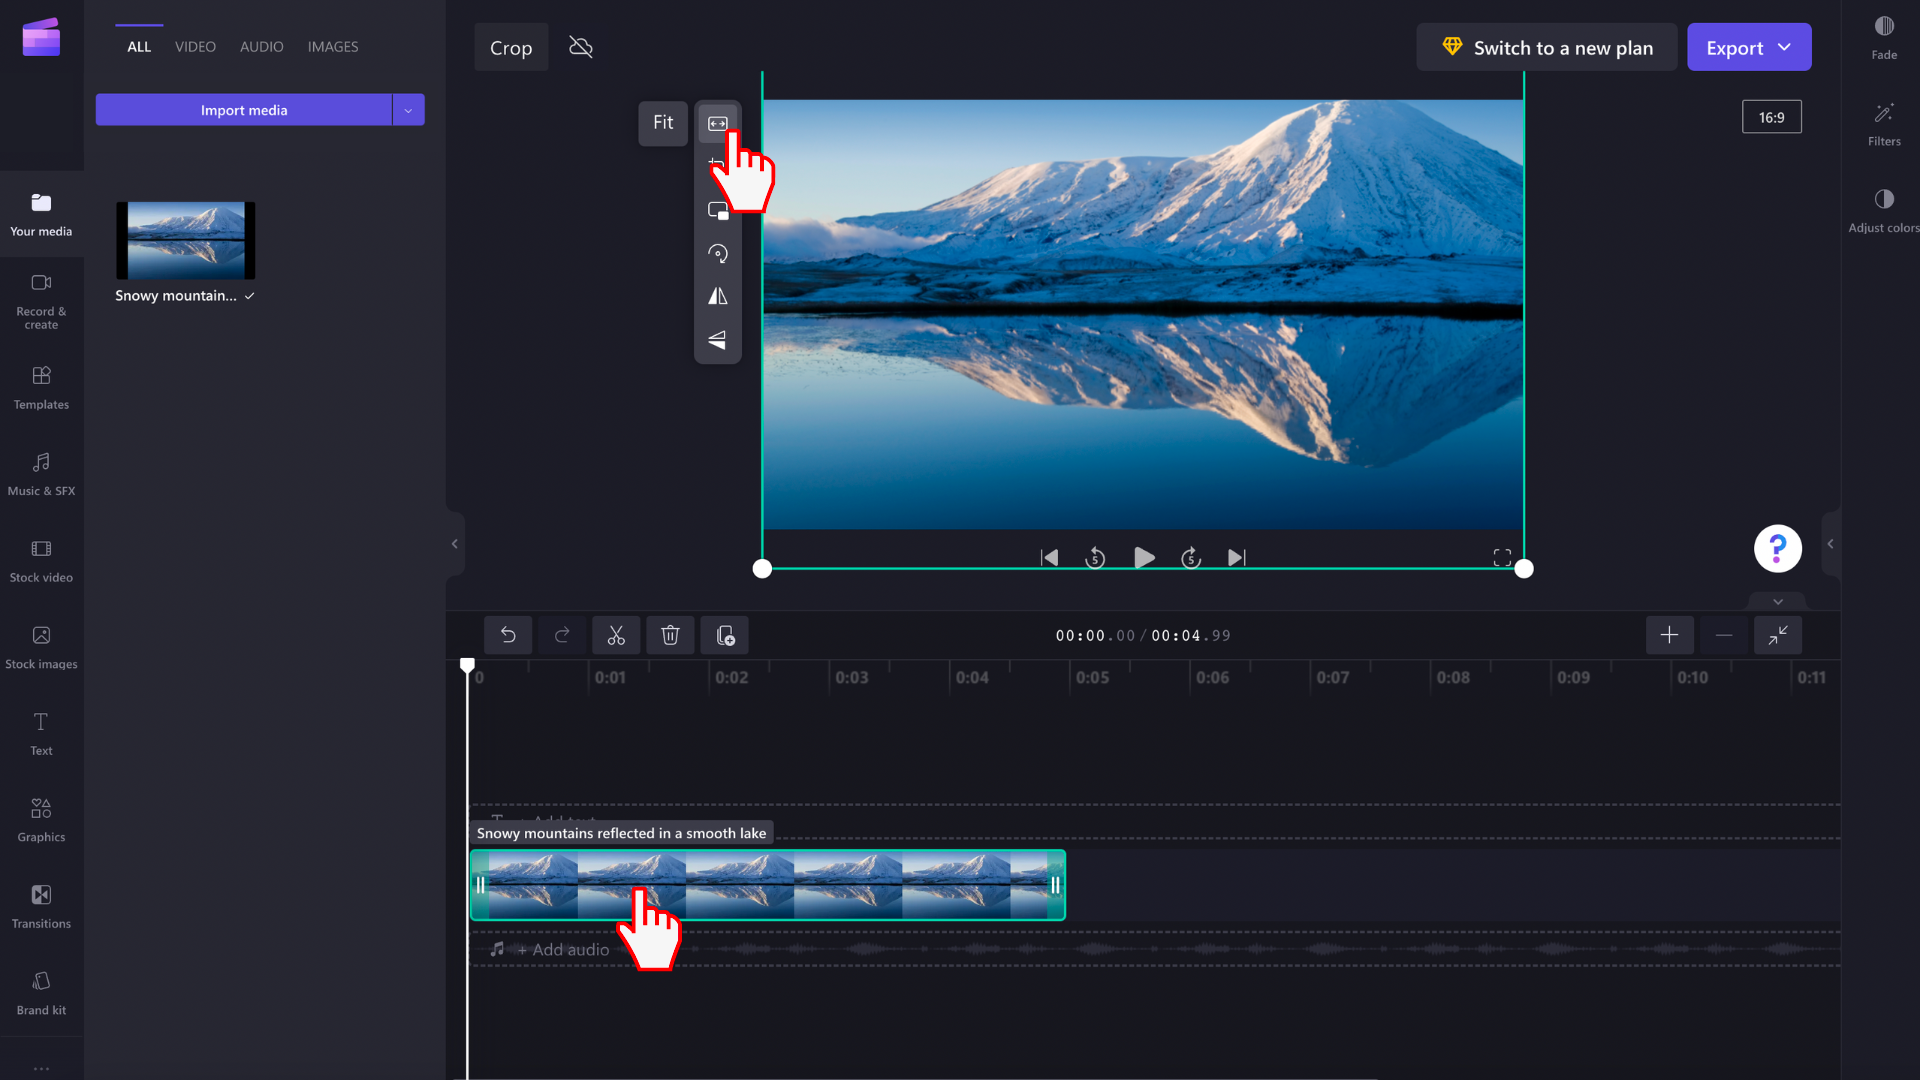
- Try out Audio Video editing software
- Try out AI-based image processing
Vector vs Raster ?
Vector and Raster graphics are two different ways of representing images in digital format.
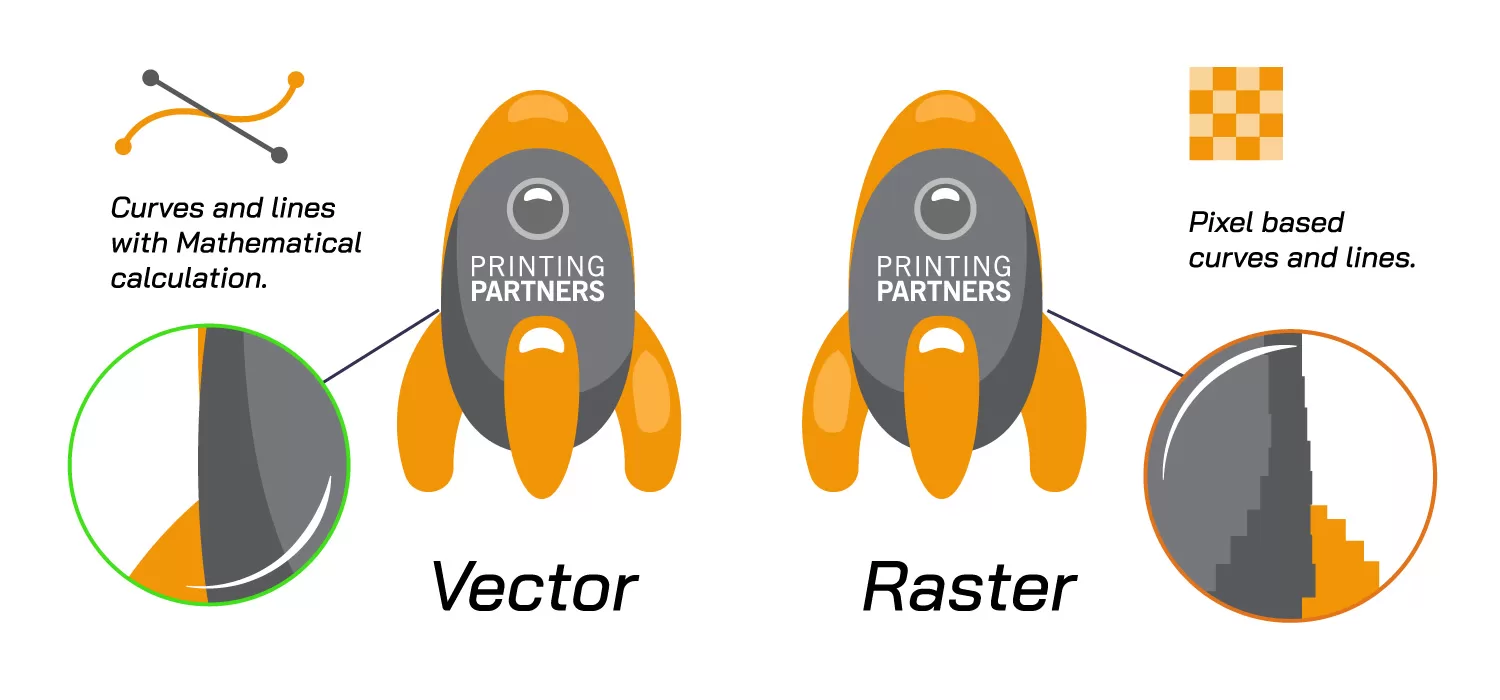
Vector graphics are composed of paths defined by start and end points, along with other points, curves, and angles. These paths can be resized without losing quality or becoming pixelated since they are defined mathematically. They are commonly used for logos, illustrations, and type.
Raster graphics, on the other hand, are made up of pixels arranged in a grid. Each pixel has a specific color value and cannot be resized without losing quality. Raster graphics are best suited for photographs and images with smooth color transitions, as they can represent a wide range of colors and shades.
In summary, vector graphics are scalable and ideal for illustrations, while raster graphics are better suited for photographs due to their ability to represent a wide range of colors.
The following is a simple illustration from the web showing the difference between vector and raster graphics. When the image becomes blurred or pixelated, it is most likely a raster file.
Inkscape
Initially, I considered giving Inkscape a try. If you're interested in downloading Inkscape, you can follow the link below:


Tool Nomenclature on Inkscape
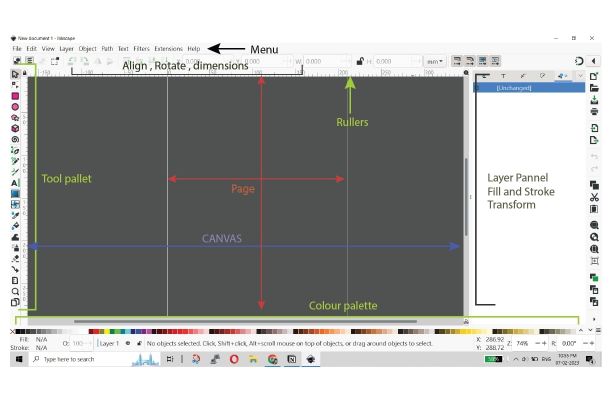
- The interface has a Menu bar at the top, which allows access to file and graphic editing options through various drop-down menus. The menu titles are labeled, and any assigned keyboard shortcuts are also displayed.
- The Tool palette displays editing options in the form of icons.
- The Canvas area serves as the workspace for creating designs and does not have any borders.
- The Page represents the printable area and is limited by the "page border." You can export your design based on the entire page, a selection, a drawing, or custom settings.
Path Tools
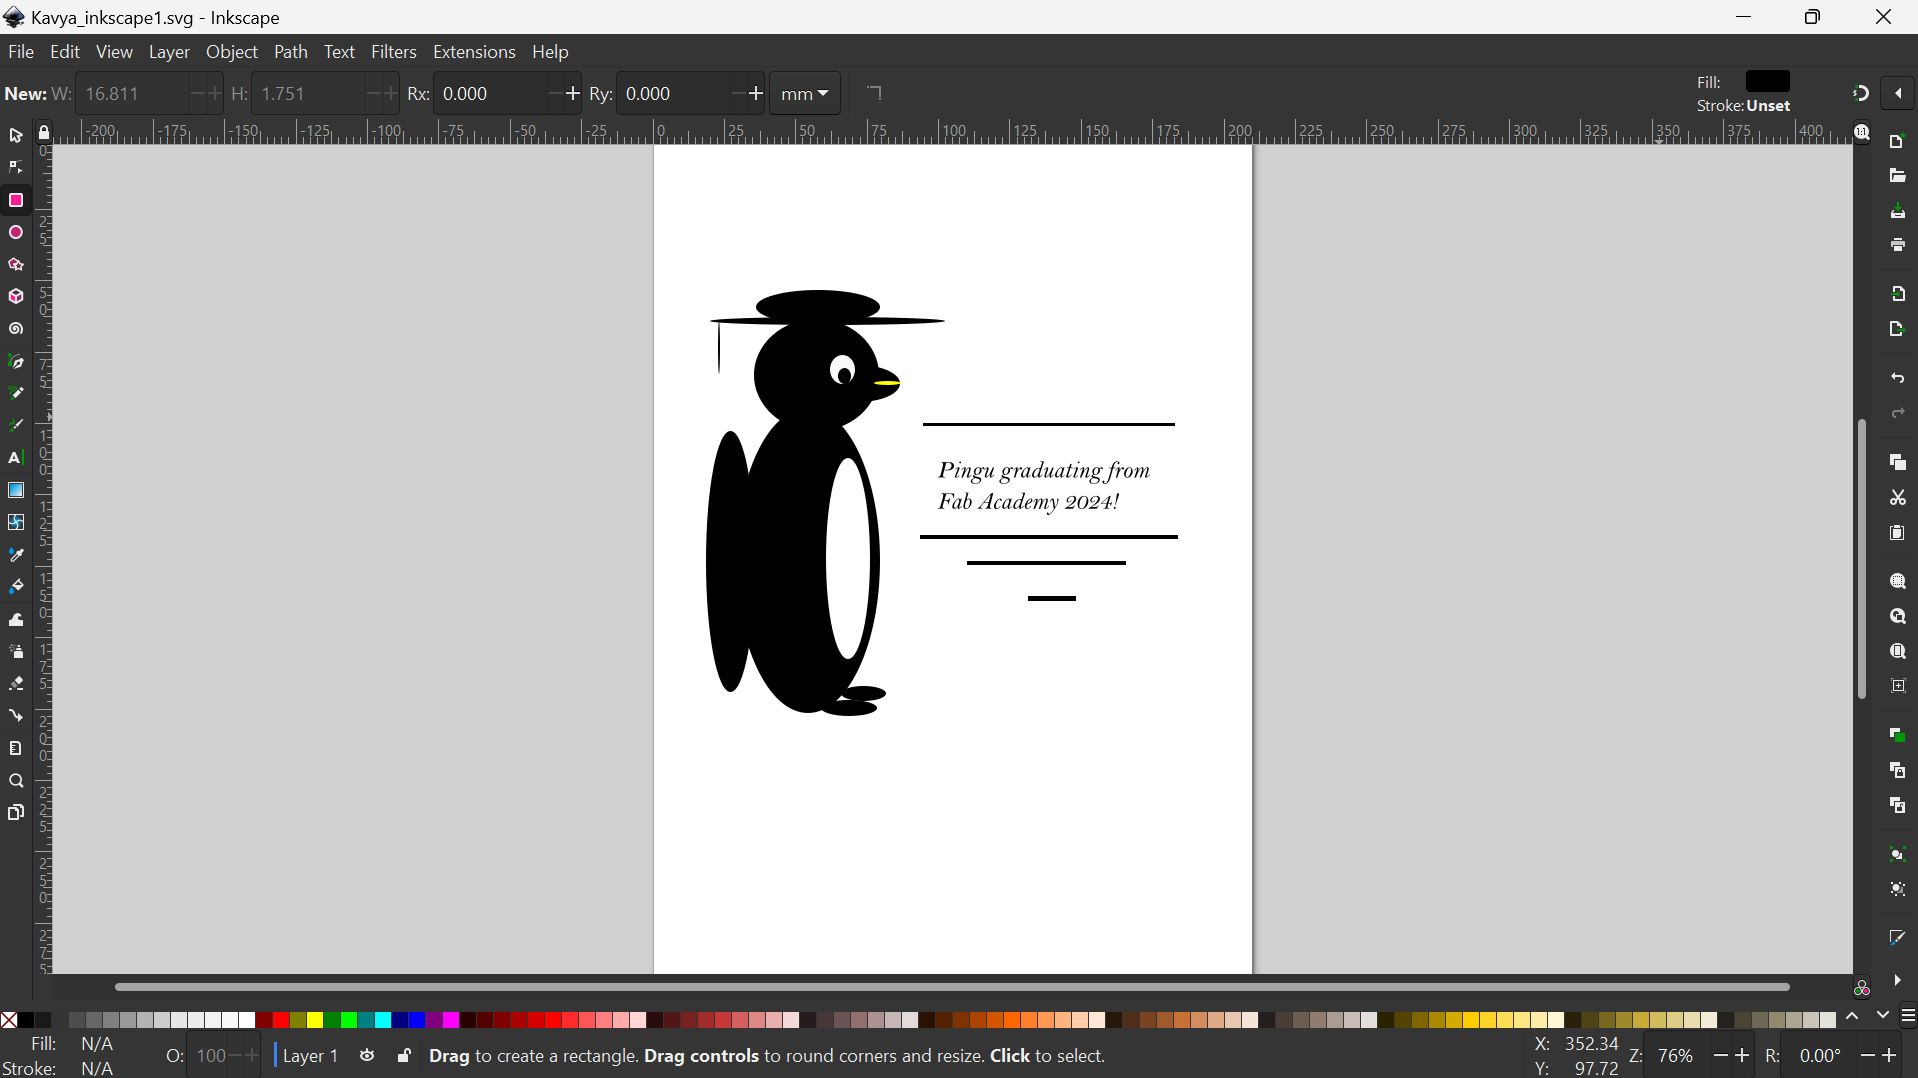
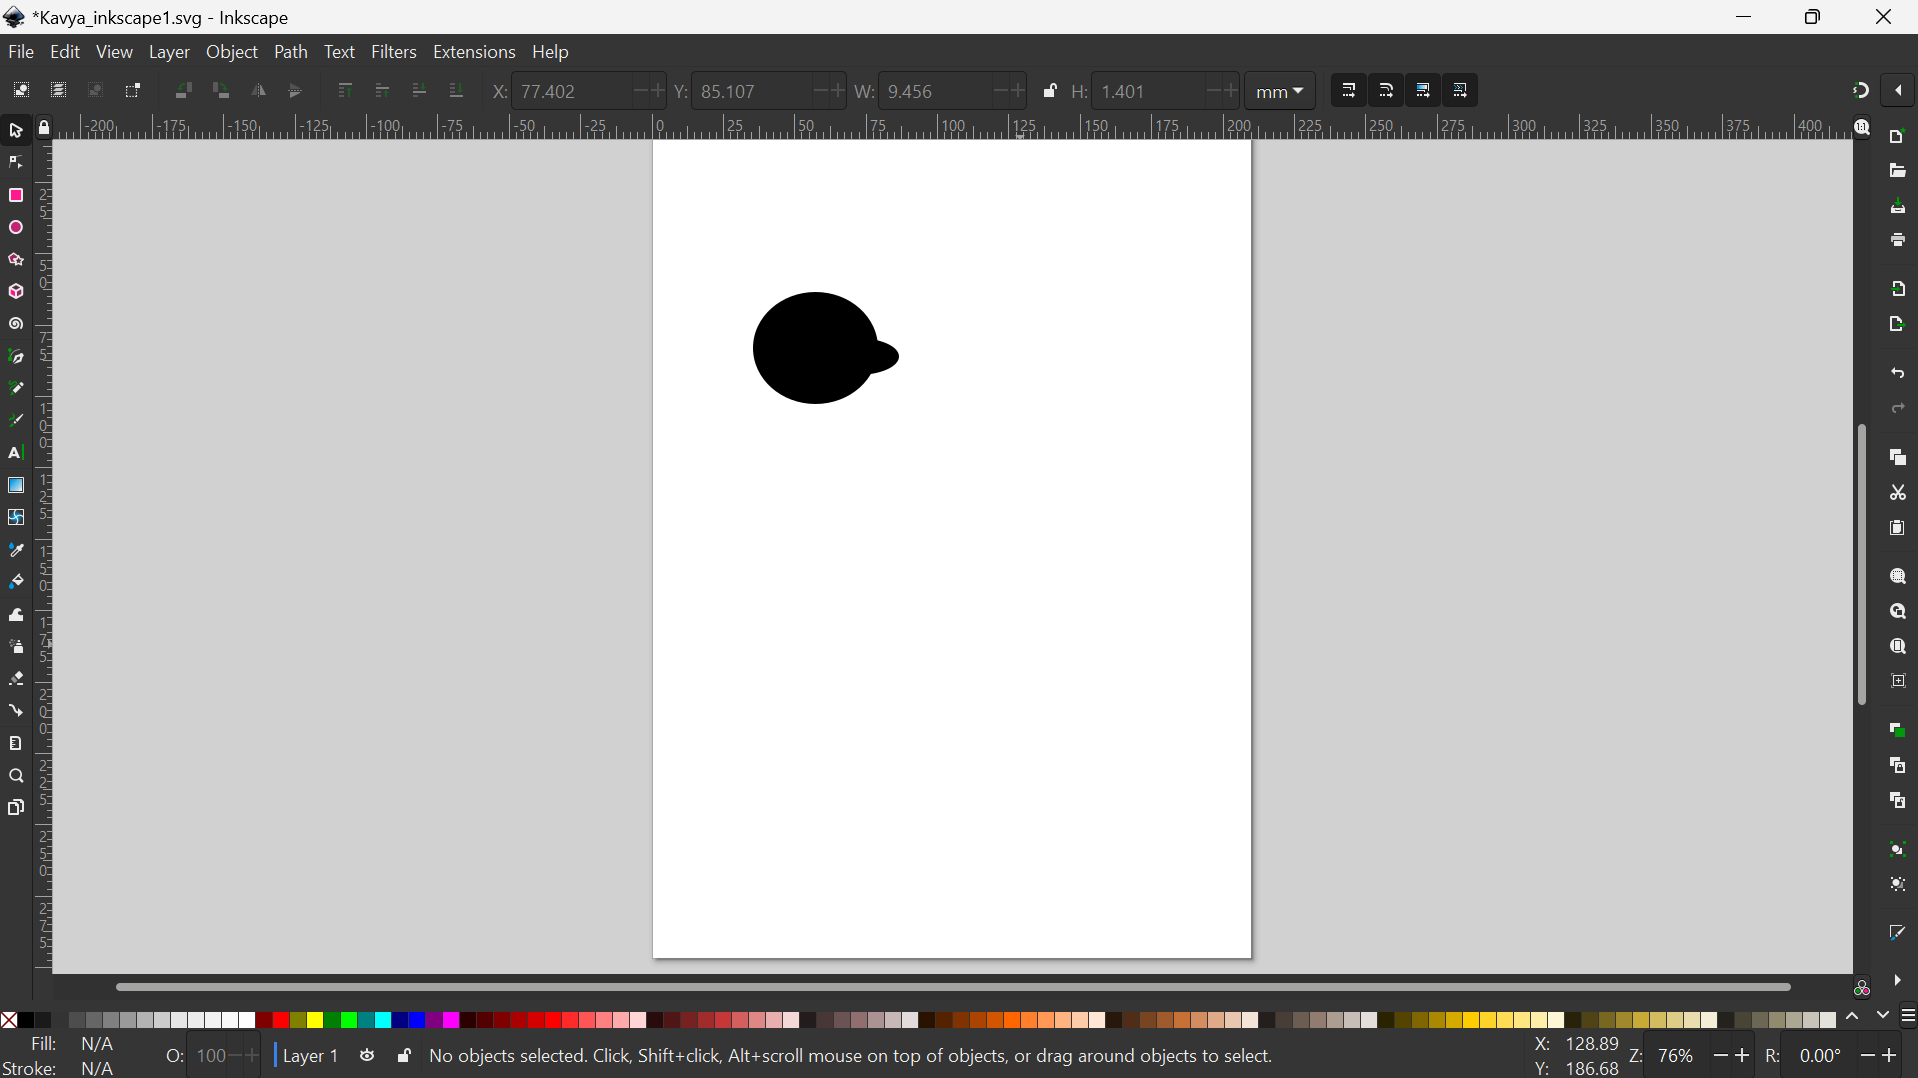
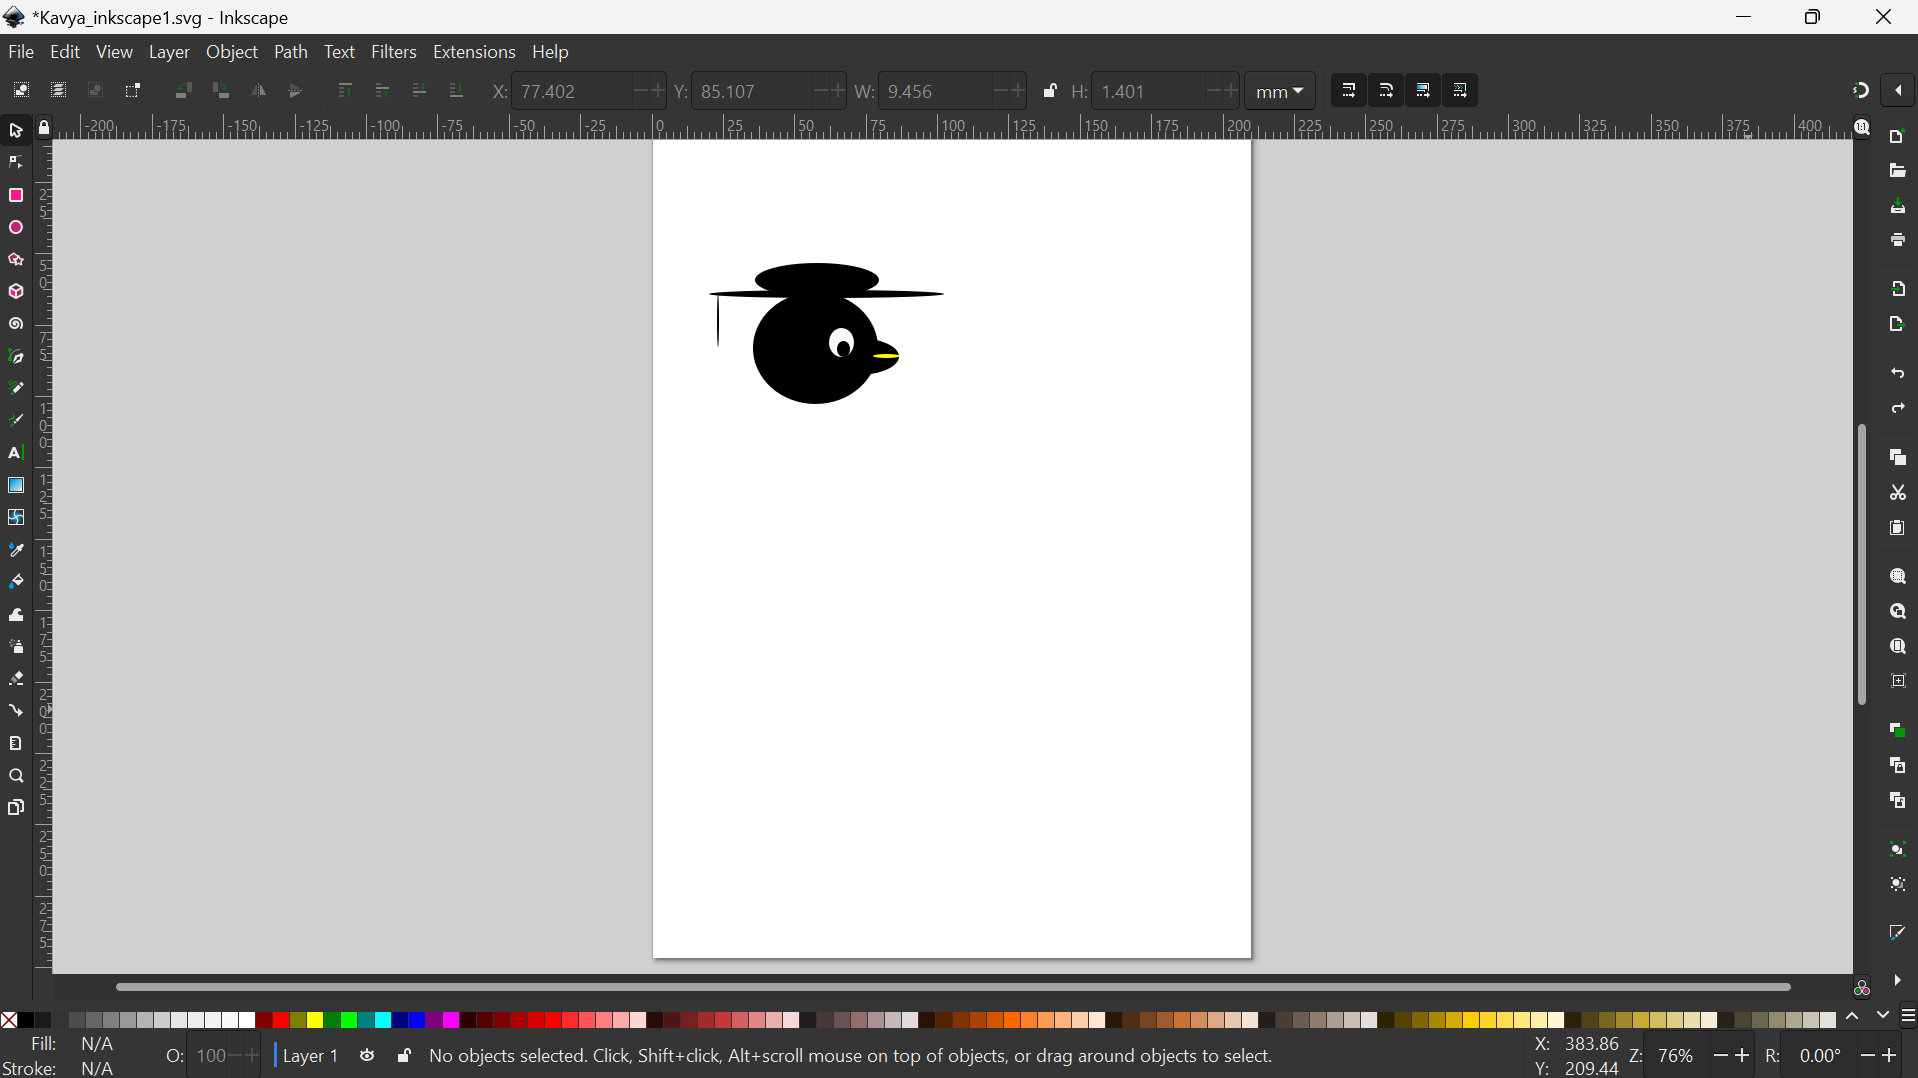
 I found Inkscape to be user-friendly and effortless to use. I tried drawing Pingu, the penguin graduating from Fab Academy just using the circle tool and I believe it looks like a penguin. Notably, it only took me a few minutes to get acquainted with the software.
I learned that paths are an essential element in Inkscape. They allow you to draw custom shapes and outlines by defining points, lines, and curves. By using the Path tool, you can create simple shapes like rectangles, circles, and polygons. Additionally, you can convert them into more complex shapes such as custom logos and illustrations by adjusting various properties in the path menu.
Photopea
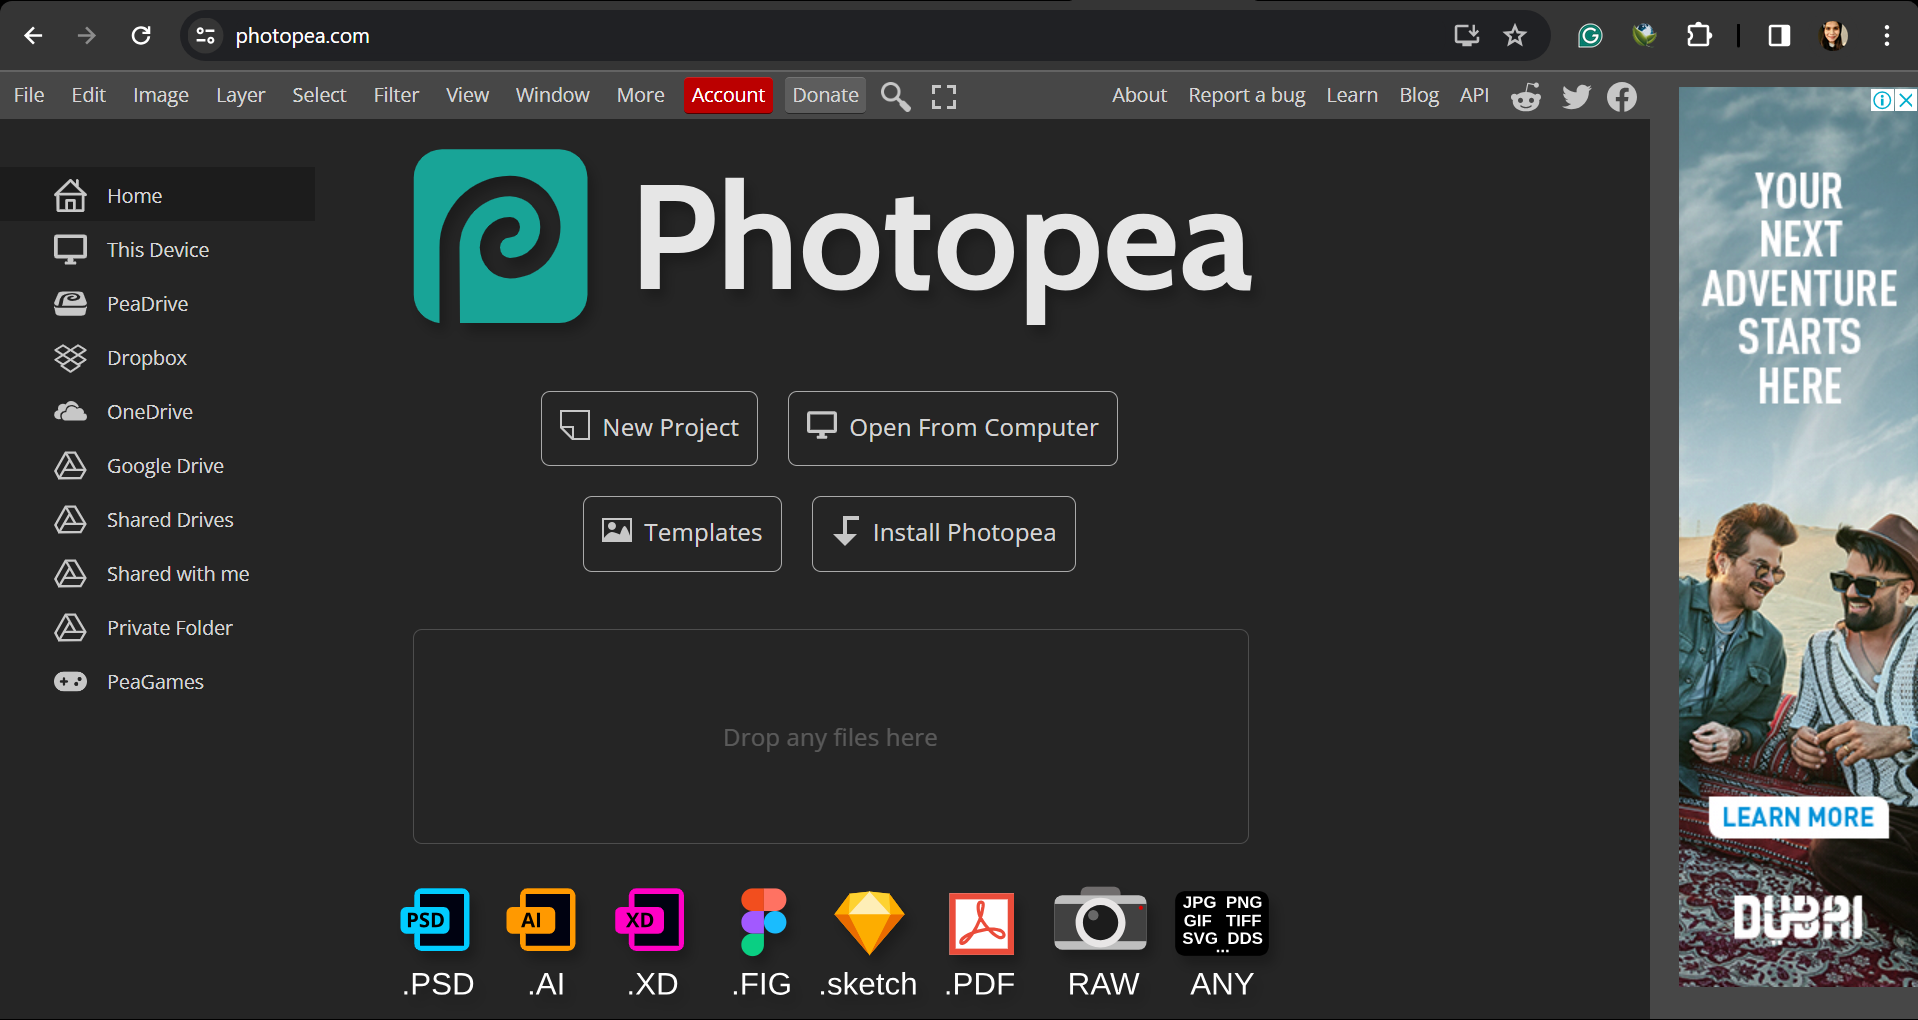
Photopea is a powerful online raster graphics editor that allows users to create and edit images. It offers a wide range of features and functionalities similar to popular software like Photoshop and GIMP.
Interface
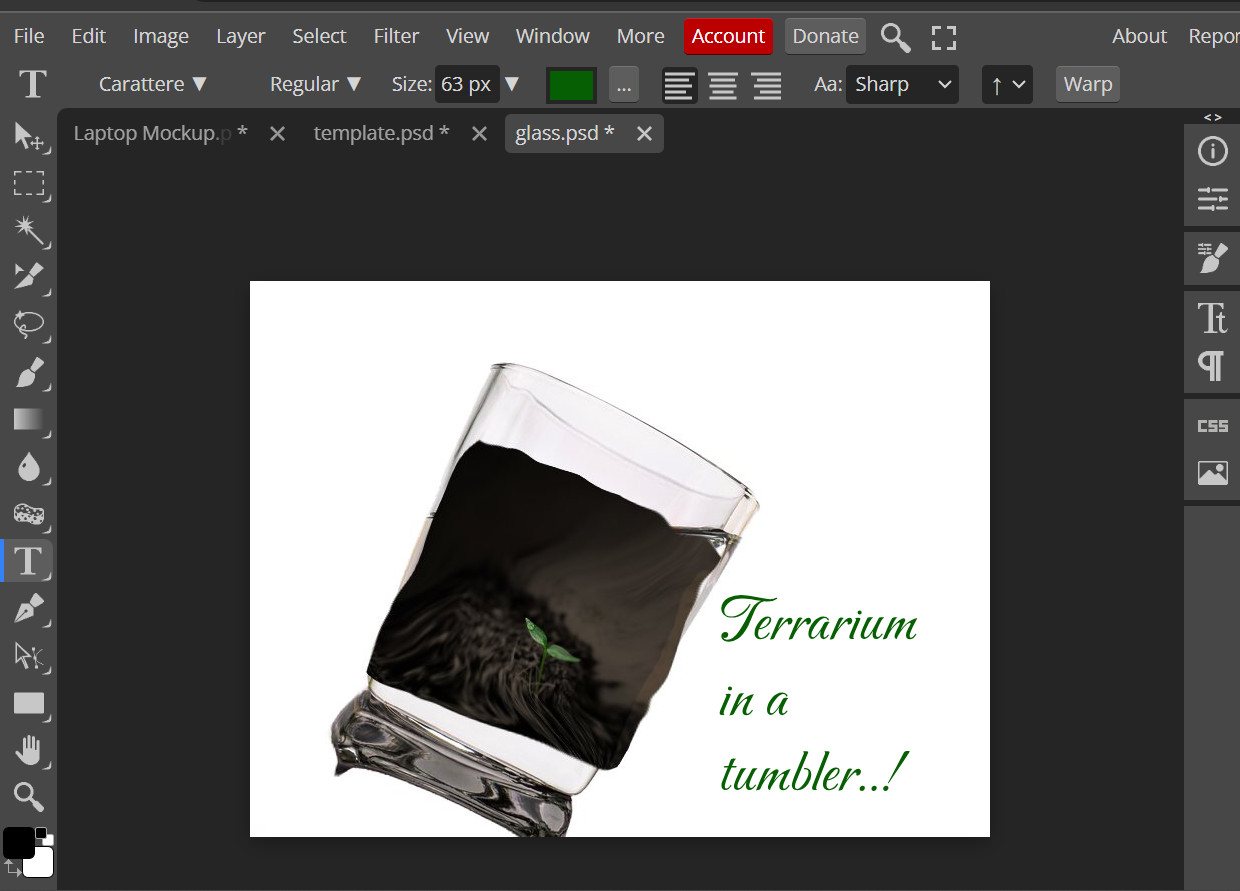
Upon opening Photopea, you are greeted with a clean and user-friendly interface. The main workspace consists of a toolbar on the left side and various panels on the right. The toolbar provides quick access to essential tools like selection, brush, eraser, and more.
The panels on the right side display options for layers, history, color swatches, and other adjustment settings. These panels can be collapsed or expanded based on your preference, allowing you to customize your workspace.
Creating Raster Images
To create a new raster image in Photopea, you can go to File > New. This opens a dialog box where you can specify the dimensions, resolution, and other settings for your image. You can choose from pre-defined templates or input custom values.
Once your new canvas is created, you can start adding and manipulating elements using the various tools available. These tools include brush, pencil, shape, text, and many more. You can adjust properties like size, opacity, color, and blending modes to achieve the desired effects.
Image Editing
Photopea provides a wide range of editing features to enhance and modify raster images. You can perform tasks like cropping, resizing, rotating, and flipping images using the Transform tools. There are also options to adjust brightness, contrast, saturation, and color balance to fine-tune the appearance of your images.
For more advanced editing, Photopea offers tools like layers, masks, and filters. Layers allow you to work on different elements separately and organize them effectively. Masks help you control the visibility and transparency of specific areas. Filters provide various effects like blur, sharpen, noise reduction, and more.
Overall, Photopea's interface and feature set make it a versatile tool for creating and editing raster images. Whether you're a beginner or an experienced designer, Photopea provides a user-friendly and powerful environment to unleash your creativity.

Pixlr
Pixlr is a web-based raster graphics editor that offers a wide range of features for creating and editing images. It provides a user-friendly interface and powerful tools similar to popular software like Photoshop and GIMP.
Interface:
Upon opening Pixlr, you are greeted with a clean and intuitive interface. The main workspace consists of a toolbar on the left side and various panels on the right. The toolbar provides quick access to essential tools like selection, brush, eraser, and more.
The panels on the right side display options for layers, history, color swatches, and other adjustment settings. These panels can be collapsed or expanded based on your preference, allowing you to customize your workspace.
Features:
Pixlr offers a wide range of features for editing raster images. Some notable features include:
- Selection Tools: Pixlr provides various selection tools like rectangular marquee, lasso, and magic wand for selecting specific areas of the image. You can perform operations like copy, cut, paste, and apply adjustments to the selected area.
- Brushes and Drawing Tools: Pixlr offers a variety of brushes and drawing tools to create and edit images. You can choose from different brush shapes, sizes, and opacity levels to paint and draw on the canvas.
- Layers: Pixlr supports layers, allowing you to work on different elements of the image separately. You can add, delete, and rearrange layers, apply blending modes, and adjust opacity to create complex compositions.
- Adjustment Tools: Pixlr provides a range of adjustment tools to modify the appearance of images. You can adjust brightness, contrast, saturation, hue, and apply filters to enhance the colors and tones of your image.
- Text and Typography: Pixlr allows you to add text to your images and customize the font, size, alignment, and color. You can also apply text effects like shadows and gradients to create visually appealing typography.
- Filters and Effects: Pixlr offers a variety of filters and effects to apply to your images. You can choose from options like blur, sharpen, vignette, noise reduction, and many more to enhance or transform your images.
- Retouching Tools: Pixlr provides retouching tools like spot healing, clone stamp, and red-eye reduction to fix imperfections and blemishes in your images.
- Collage Maker: Pixlr includes a collage maker tool that allows you to combine multiple images into a single collage. You can choose from various layout options, adjust spacing, and add borders to create visually appealing collages.
Overall, Pixlr is a powerful web-based raster graphics editor that offers a range of features and a user-friendly interface. Whether you are a beginner or an experienced designer, Pixlr provides the tools you need to create and edit stunning images.
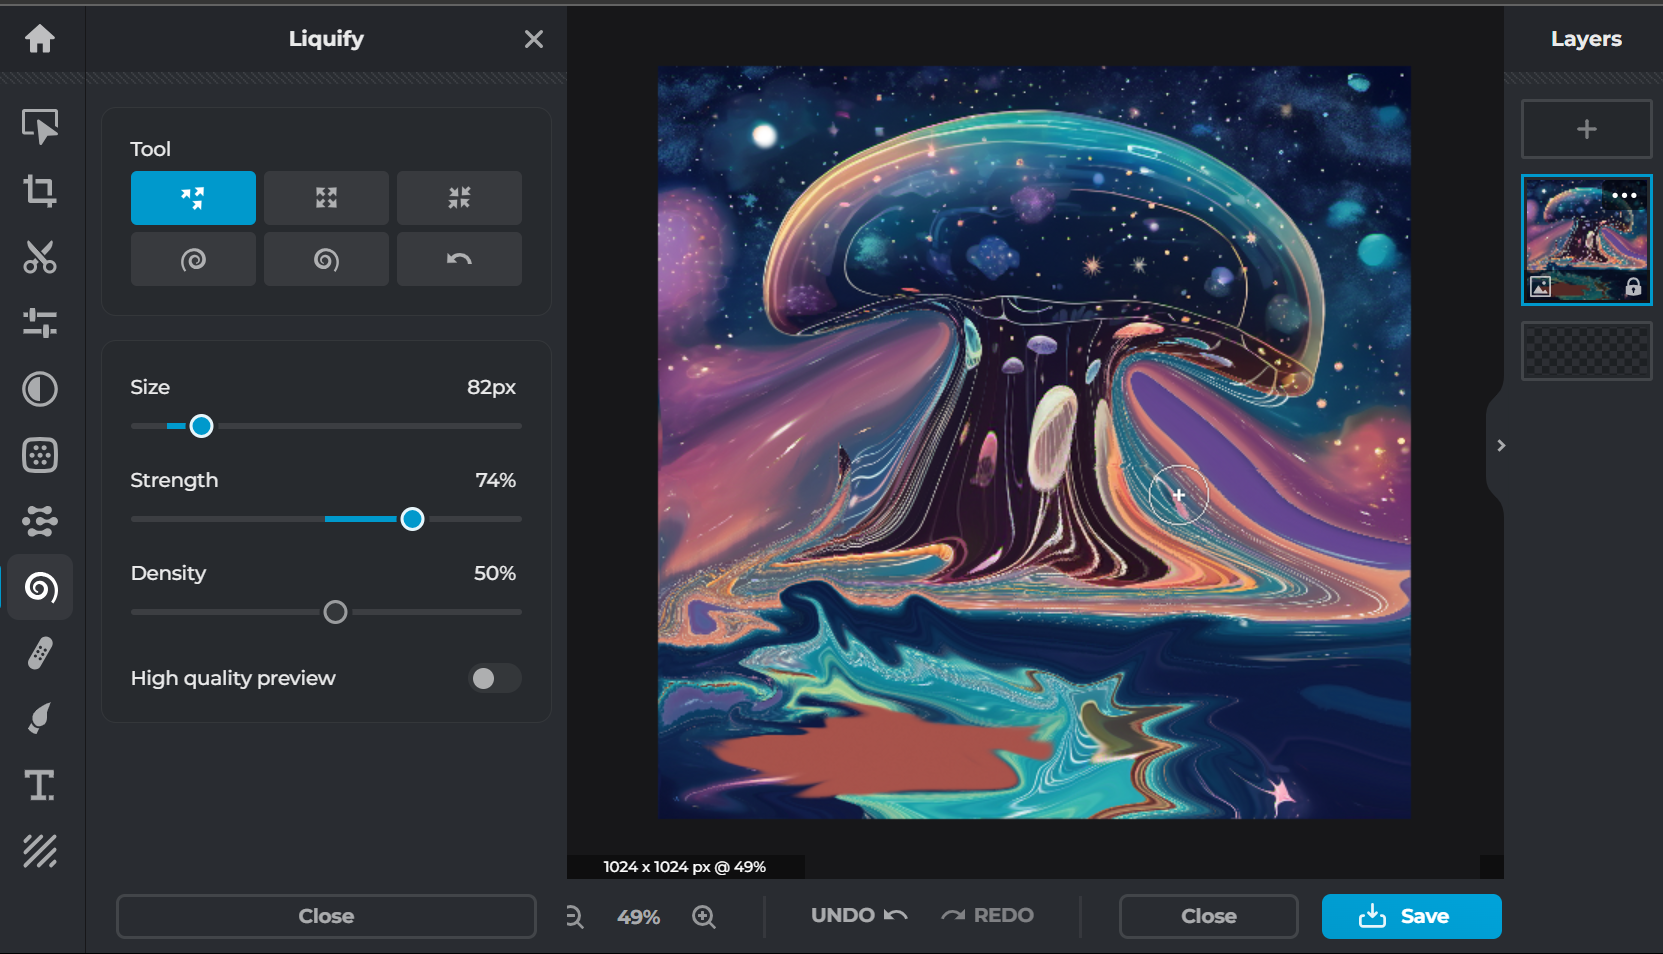
My creation using Pixlr. I reimagined a jellyfish inspired landscape in an island with a night sky.
3D Modeling
Learning Fusion 360
Autodesk Fusion 360 is a powerful computer-aided design (CAD) software that allows users to create and visualize product designs and prototypes in a virtual environment. It offers a wide range of features and tools to assist in the design process.
Some of the key features of Autodesk Fusion 360 include:
- Parametric Modeling: Fusion 360 uses a parametric modeling approach, where designs are created by defining and modifying parameters. This allows for easy design iteration and changes by adjusting the parameters rather than manually updating each component.
- Multi-Disciplinary Design: Fusion 360 supports various design disciplines, including mechanical, electrical, and industrial design. It provides tools and workflows to seamlessly integrate these disciplines in a single design environment.
- Collaboration and Data Management: Fusion 360 includes built-in collaboration and data management features, allowing teams to work together on a project. Users can easily share designs, track changes, and manage project data in a centralized location.
- Simulation and Analysis: Fusion 360 offers simulation and analysis tools to test and validate designs before manufacturing. Users can perform structural, thermal, and modal analysis to evaluate the performance and behavior of their designs under different conditions.
- CAM (Computer-Aided Manufacturing): Fusion 360 includes CAM capabilities, allowing users to generate toolpaths and optimize machining operations directly from their CAD models. This streamlines the manufacturing process and improves efficiency.
- Rendering and Visualization: Fusion 360 enables users to create realistic renderings and visualizations of their designs. It offers a range of materials, lighting options, and environments to enhance the visual representation of the product.
- Animation and Motion Studies: Fusion 360 allows users to create animations and motion studies to simulate the movement and functionality of their designs. This is useful for demonstrating product operation and evaluating design performance.
- Add-ins and Customization: Fusion 360 supports add-ins and scripting, allowing users to extend the functionality of the software and automate repetitive tasks. This enables customization and the creation of custom workflows tailored to specific design requirements.
- Cloud-Based Collaboration: Fusion 360 is a cloud-based software, which means that designs and project data are stored in the cloud. This allows for easy access, collaboration, and synchronization across multiple devices and team members.
Overall, Autodesk Fusion 360 provides a comprehensive set of tools and features for the entire product design and development process. It is widely used in industries such as manufacturing, engineering, and product design for its versatility, collaboration capabilities, and integration of multiple design disciplines.
Exploring the sketching interface
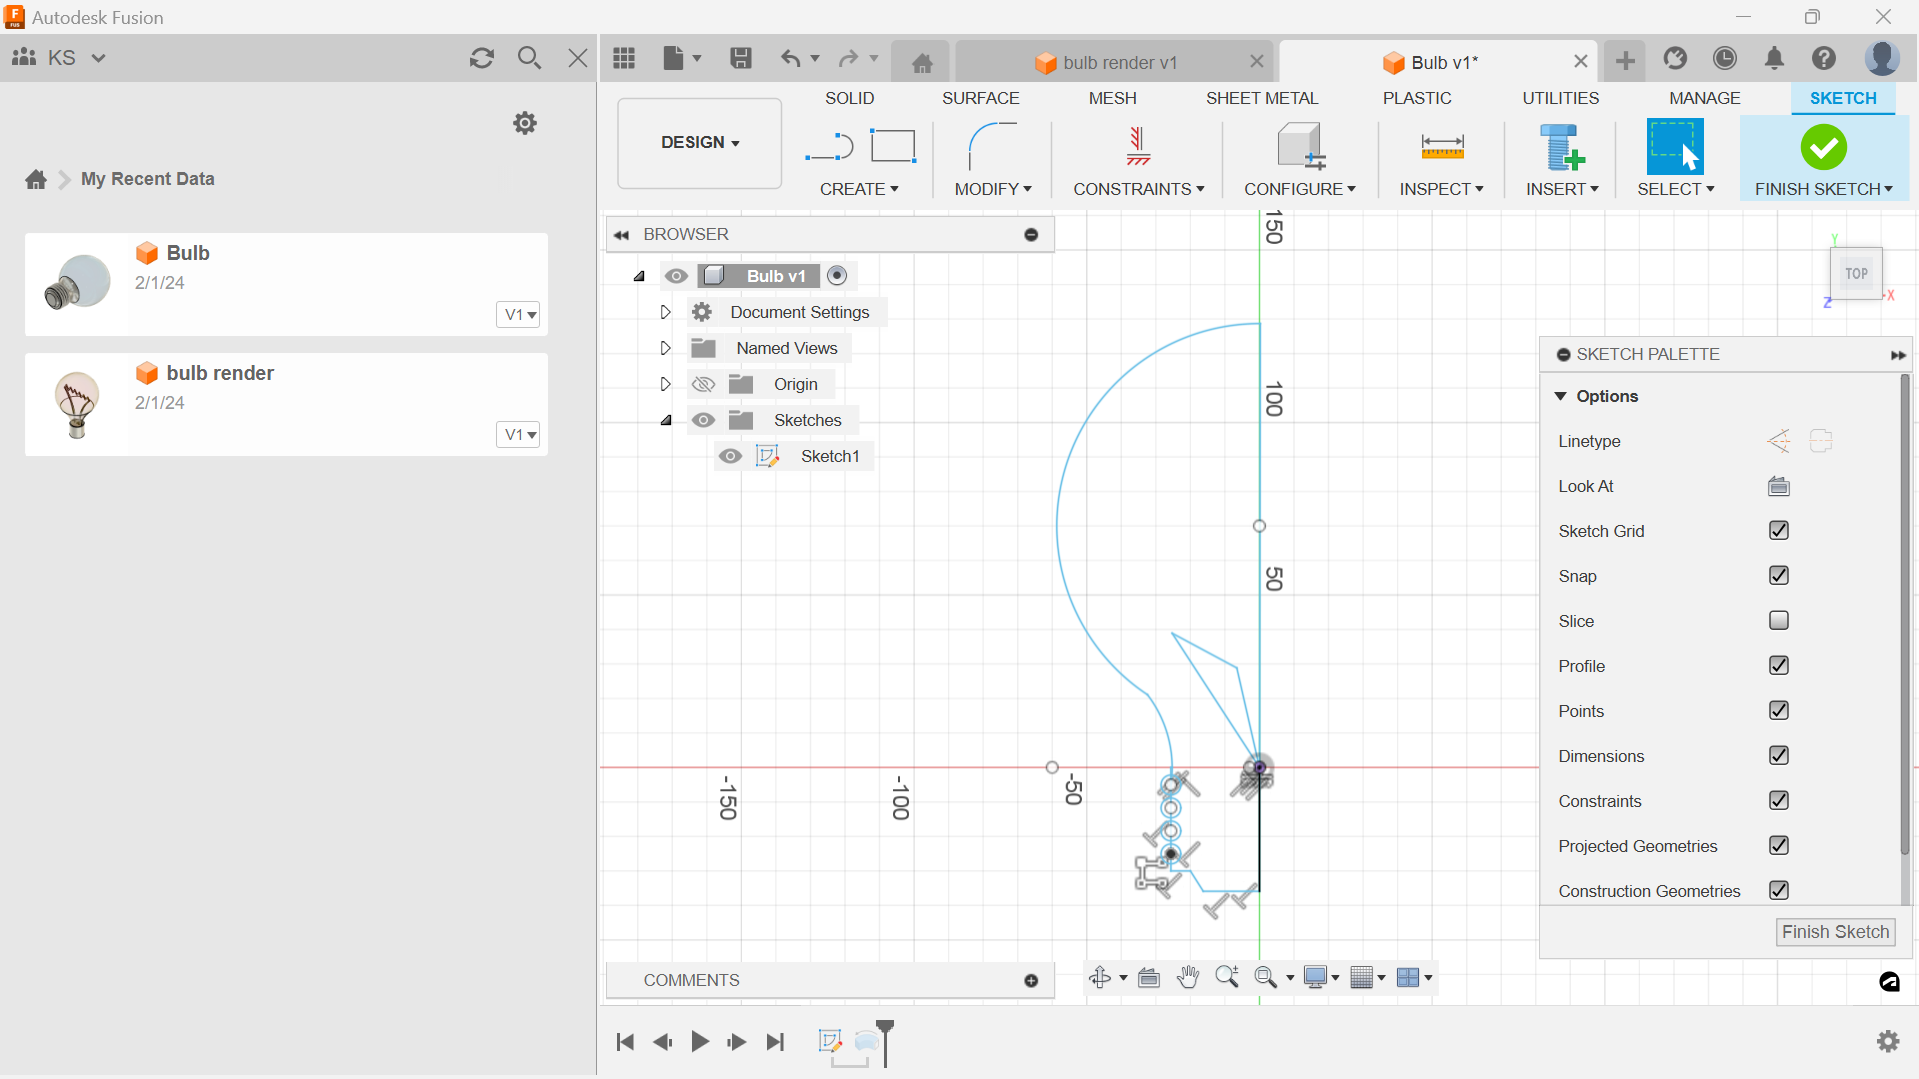
Exploring the revolve tool to create a 3D Model of the bulb
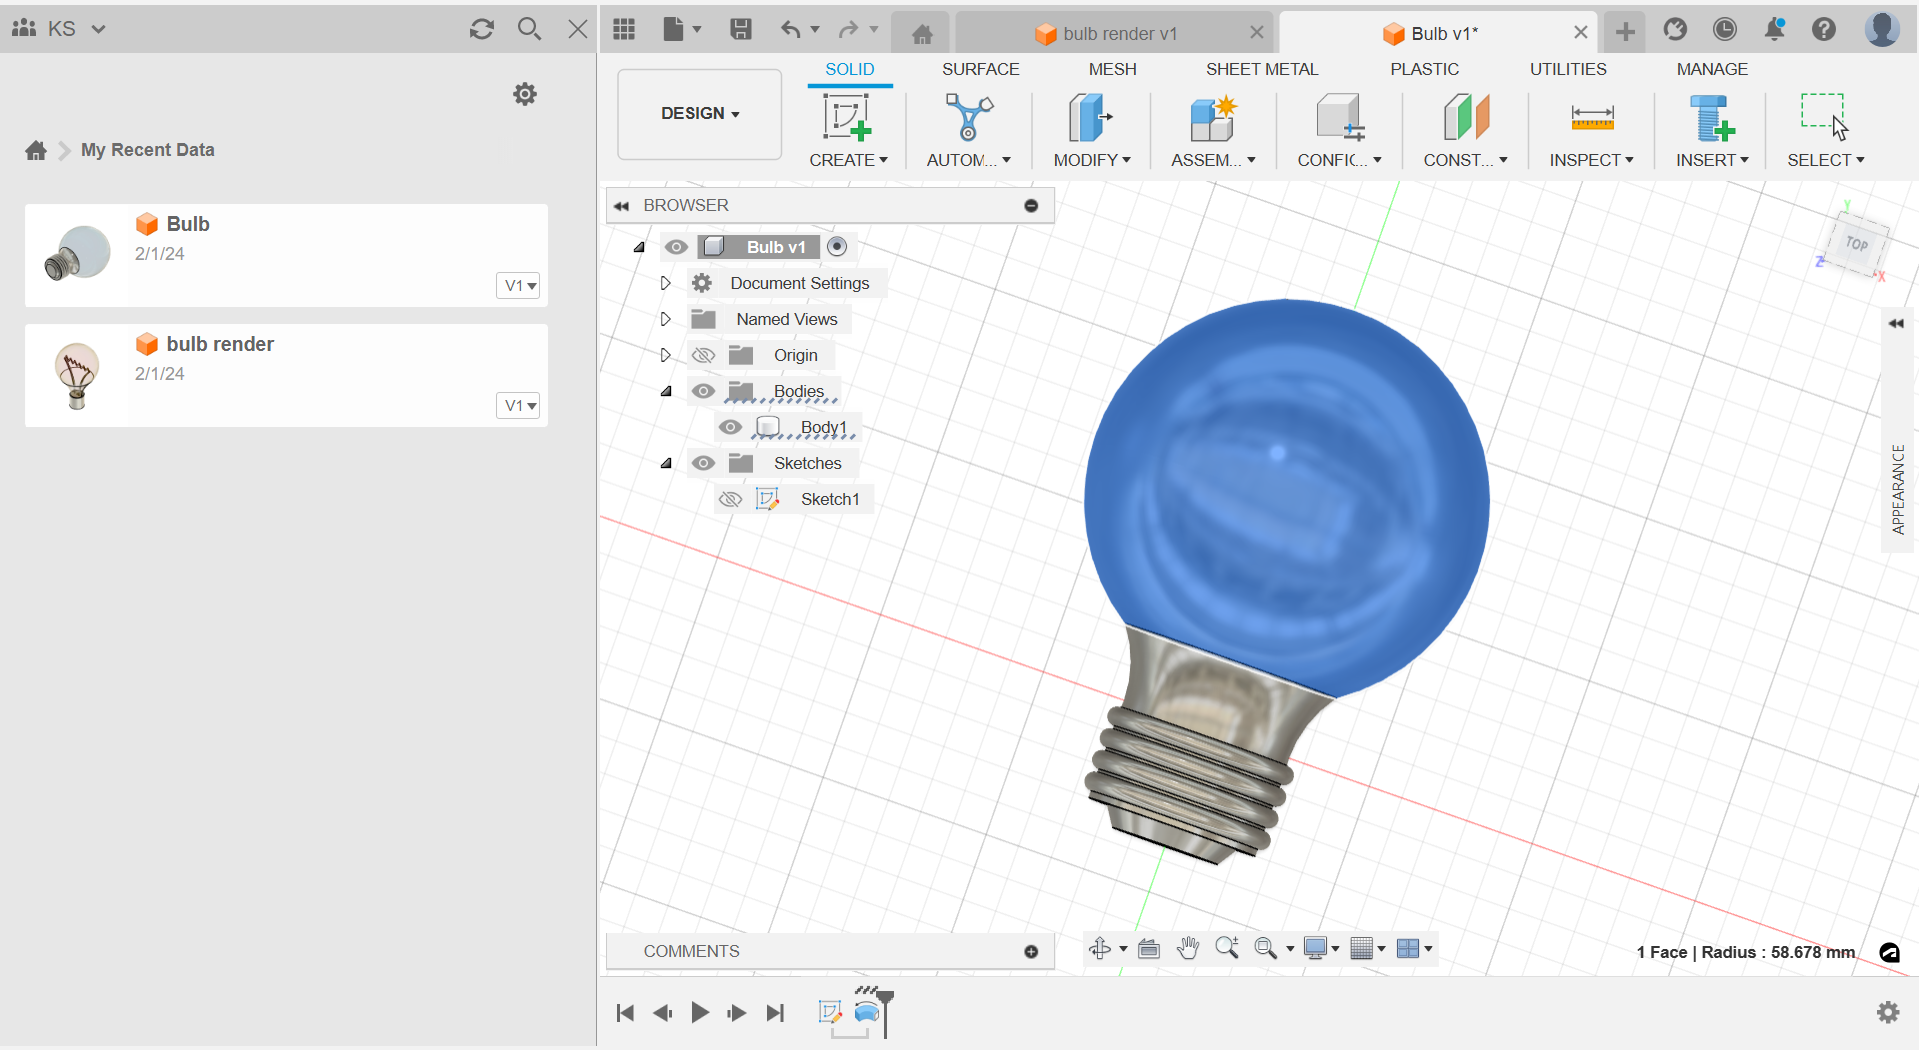
Exploring the option to change appearance of the material finish
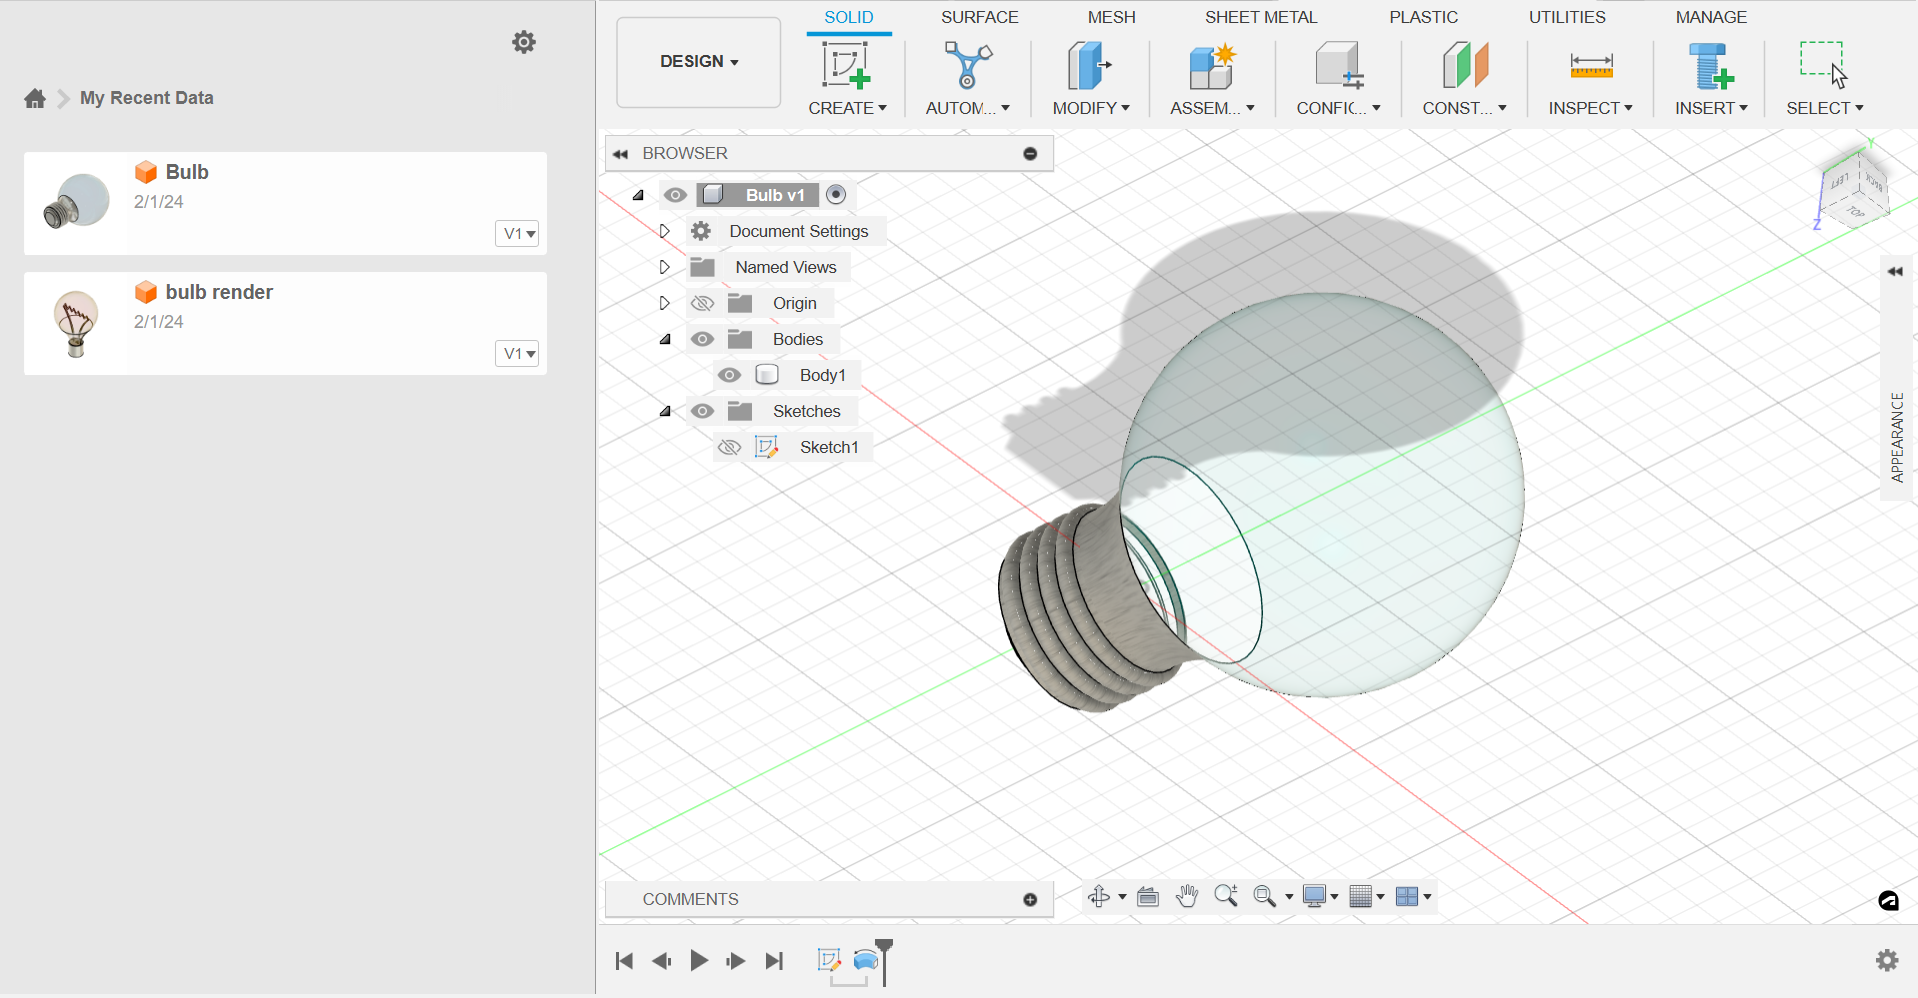
I had added the material finish of the glass, stainless steel, LED emission, and copper to my bulb
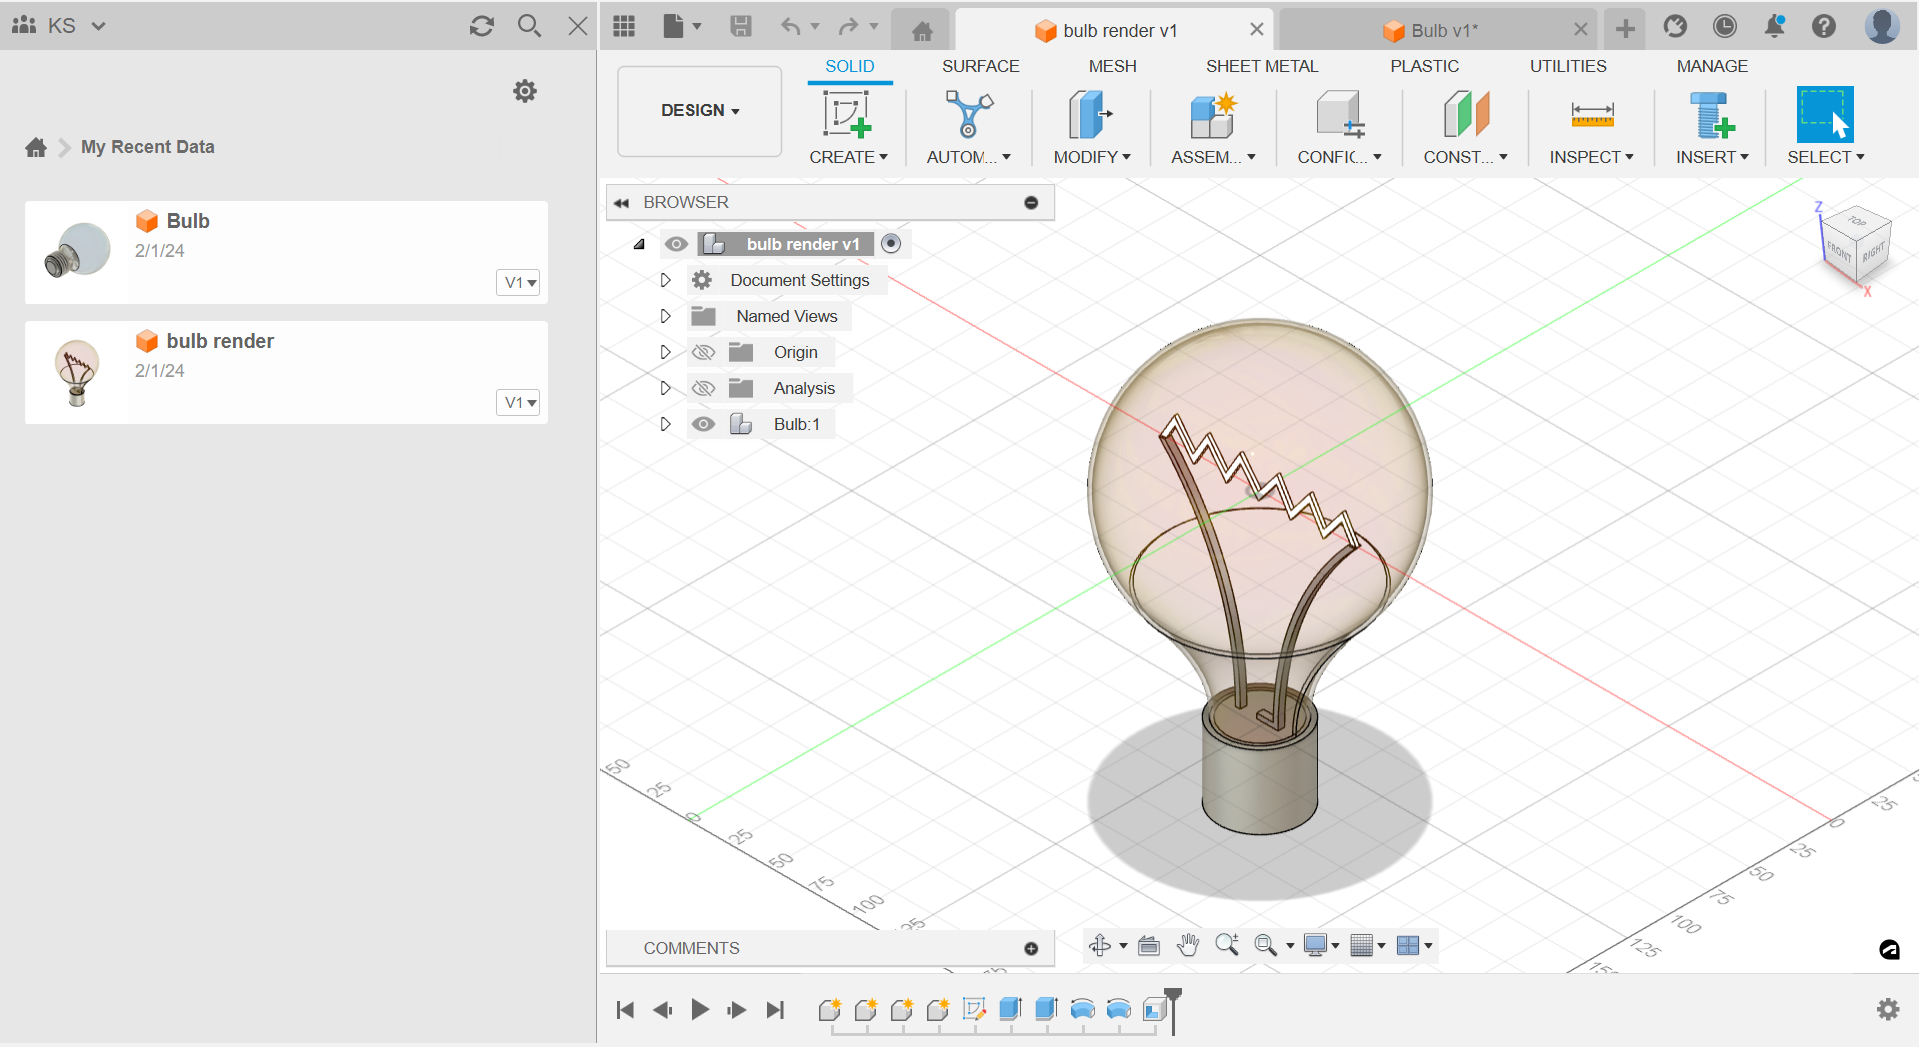
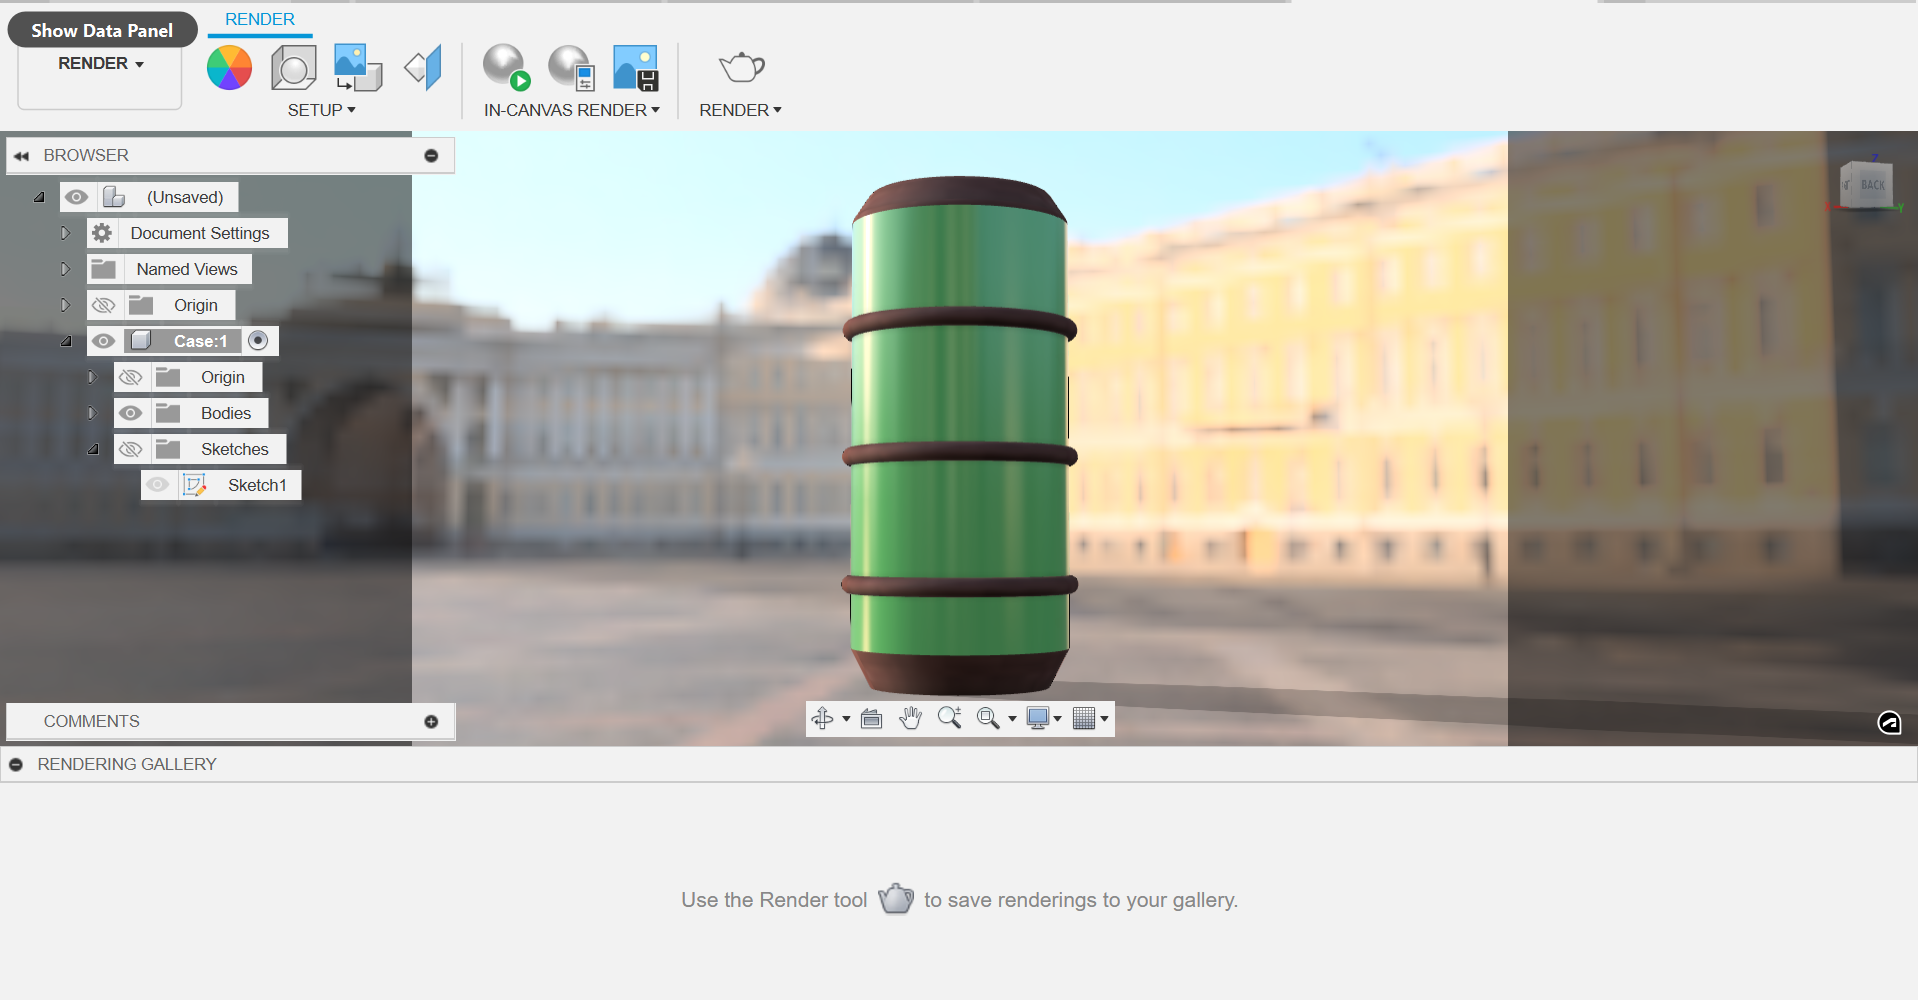
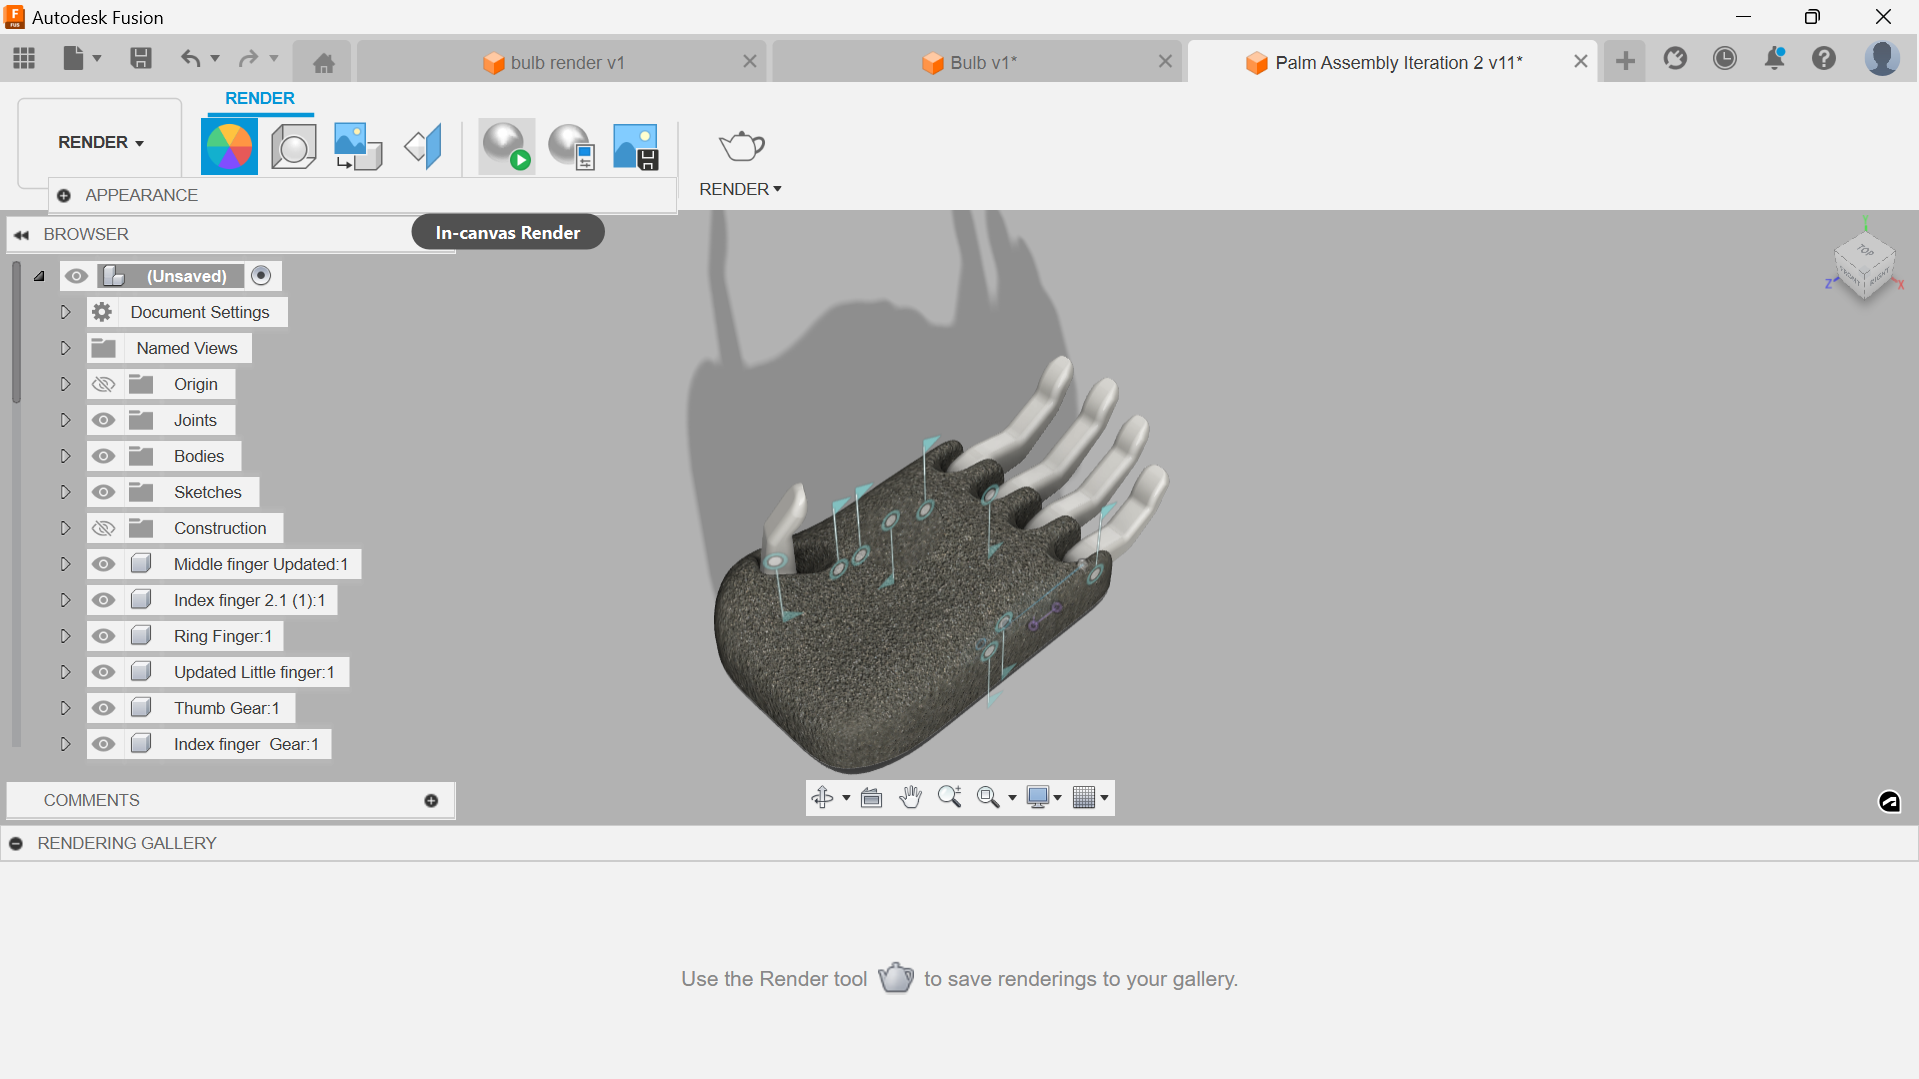
Render
The render feature in Autodesk Fusion 360 allows users to create realistic and high-quality visualizations of their 3D models. It is a powerful tool that can help you showcase your designs and bring them to life. Here is a step-by-step guide on how to use the render feature in Fusion 360:
- Open your 3D model in Fusion 360.
- Go to the "Render" workspace by clicking on the "Render" button in the toolbar at the top of the screen.
- In the render workspace, you will see various tabs and settings for controlling the rendering process. Let's start with the "Environment" tab.
- In the "Environment" tab, you can choose the lighting and background settings for your render. Fusion 360 offers a range of pre-defined environments that you can select from. You can also adjust the intensity and direction of the lighting to achieve the desired effect.
- Next, let's move to the "Render Settings" tab. Here, you can fine-tune the rendering parameters to get the desired output. You can adjust the resolution, quality, and other settings to optimize the render for your specific needs.
- Once you have set up the environment and render settings, it's time to start the rendering process. Click on the "Render" button in the toolbar to begin the render.
- Fusion 360 will start rendering your model based on the specified settings. The rendering process may take some time, depending on the complexity of your model and the quality settings.
- While the rendering is in progress, you can monitor the progress in the "Render Manager" tab. This tab provides information about the current render job, including the estimated time remaining.
- Once the rendering is complete, you can view the rendered image in the "Render Gallery" tab. Here, you can preview the image, make adjustments if necessary, and save the final render.
- Fusion 360 also allows you to create render animations. You can set up keyframes to define the camera position and other parameters over time, and then render the animation sequence.
By following these steps, you can utilize the render feature in Fusion 360 to create stunning visualizations of your 3D models. Whether you need realistic product renderings or artistic visualizations, Fusion 360 provides the tools and flexibility to achieve your desired results.
Remember to experiment with different lighting setups, materials, and camera angles to showcase your design in the best possible way.

Some renders of my palm assembly
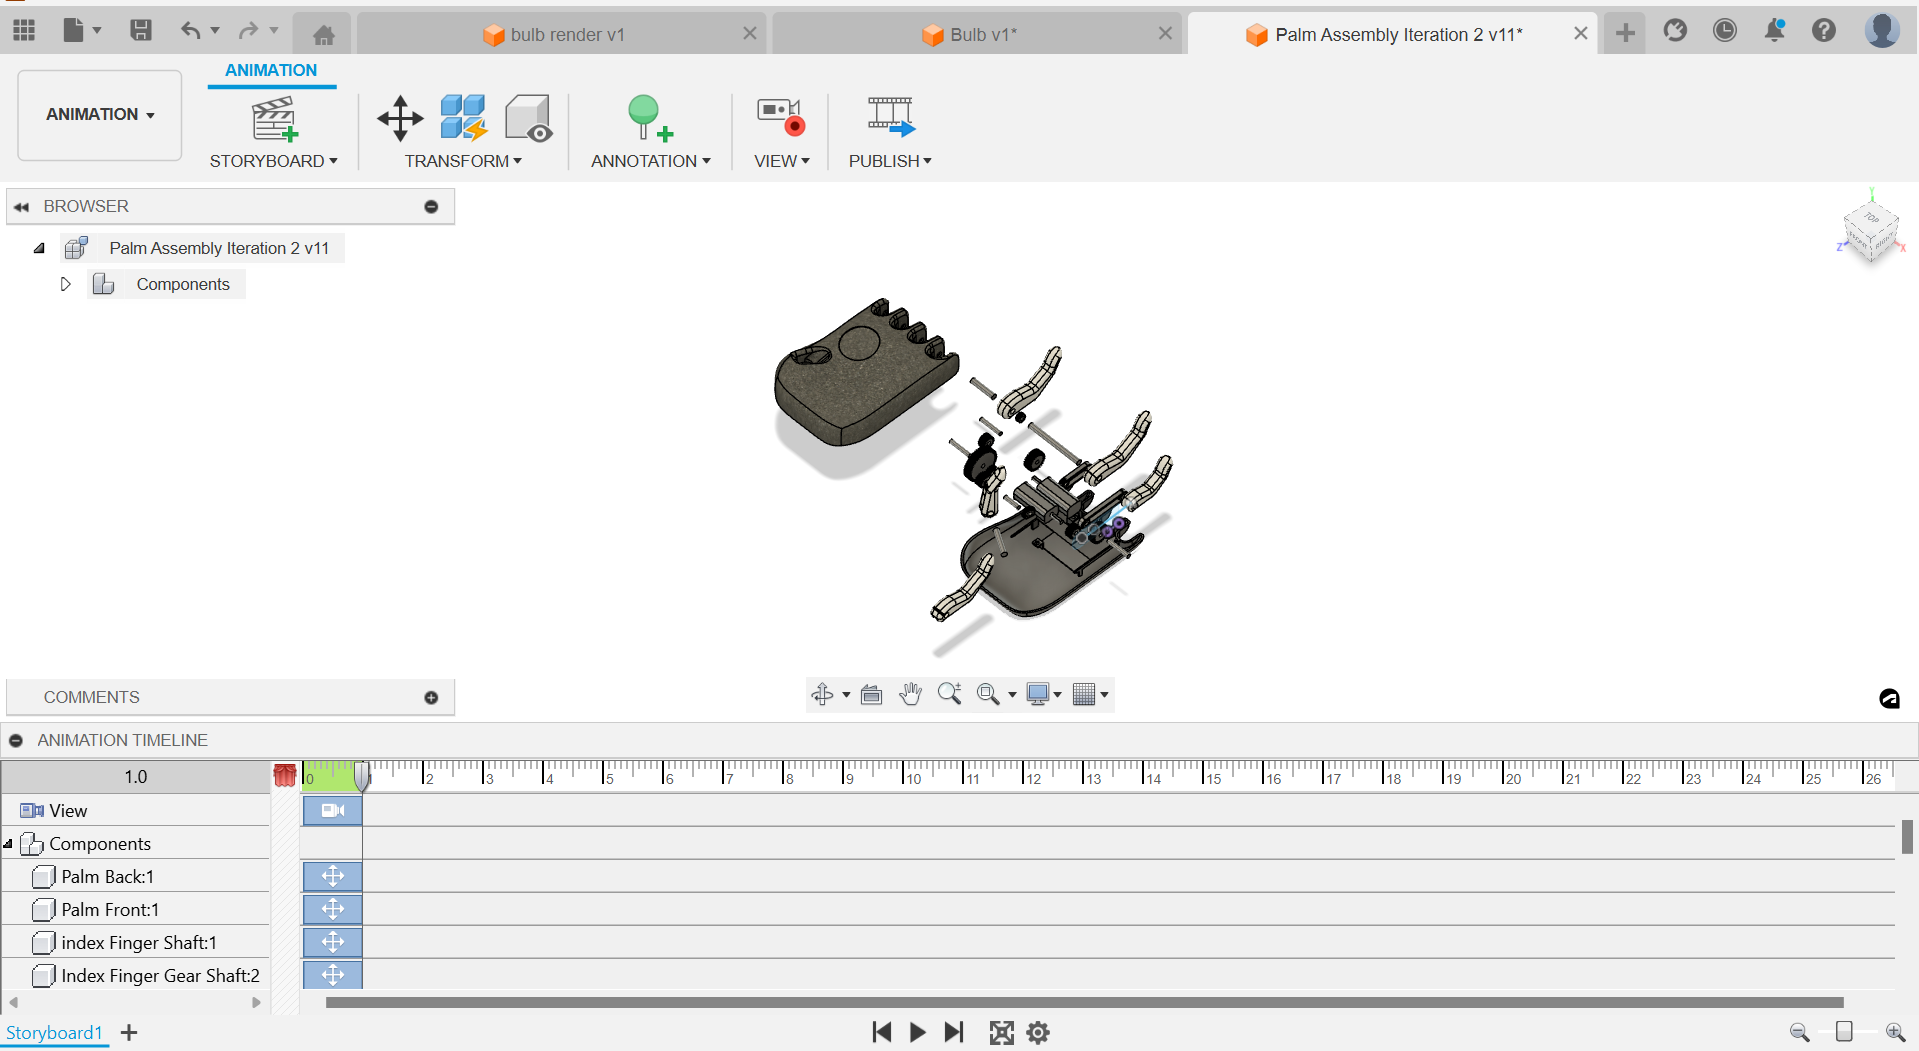
Animate
The Animate feature in Autodesk Fusion 360 allows users to create animations and motion studies to simulate the movement and functionality of their 3D models. It is a powerful tool that can bring your designs to life and provide a better understanding of how they would behave in real-world scenarios.
To use the Animate feature in Fusion 360, follow these steps:
- Open your 3D model in Fusion 360.
- Go to the "Animate" workspace by clicking on the "Animate" button in the toolbar at the top of the screen.
- In the Animate workspace, you will see a timeline at the bottom of the screen. This timeline represents the animation sequence and allows you to define keyframes and animation parameters.
- To create an animation, you need to set keyframes at different points in the timeline. Keyframes define the properties of the model at specific times, such as position, rotation, and scale.
- Select the object or component you want to animate and set its initial position and properties.
- Move the timeline cursor to the desired point in time where you want to set the next keyframe.
- Adjust the position, rotation, or any other property of the object/component to create the desired animation effect.
- Fusion 360 will automatically interpolate the values between keyframes, creating a smooth animation transition.
- Repeat steps 6-8 for different points in time to create a complex animation sequence.
- You can preview the animation by playing it in the timeline or using the playback controls.
- Fine-tune the animation by adjusting the timing, easing, and other animation parameters in the timeline.
- Once you are satisfied with the animation, you can export it in various formats, such as video or GIF, to share or embed it in presentations or websites.
The Animate feature in Fusion 360 provides a wide range of possibilities for creating dynamic and interactive visualizations of your designs. Whether you want to demonstrate the functionality of a product, showcase a mechanical movement, or simulate the behavior of a mechanism, the Animate feature gives you the tools to bring your ideas to life.
I used the option to animate auto explode at all levels for my 3D file.